
Design & ordering
How to Prepare a Logo for Wood-Tag Engraving
Prepare a clear logo for an engraved bracelet tag: choose the right file, simplify fine details and check the actual-size proof before approving production.
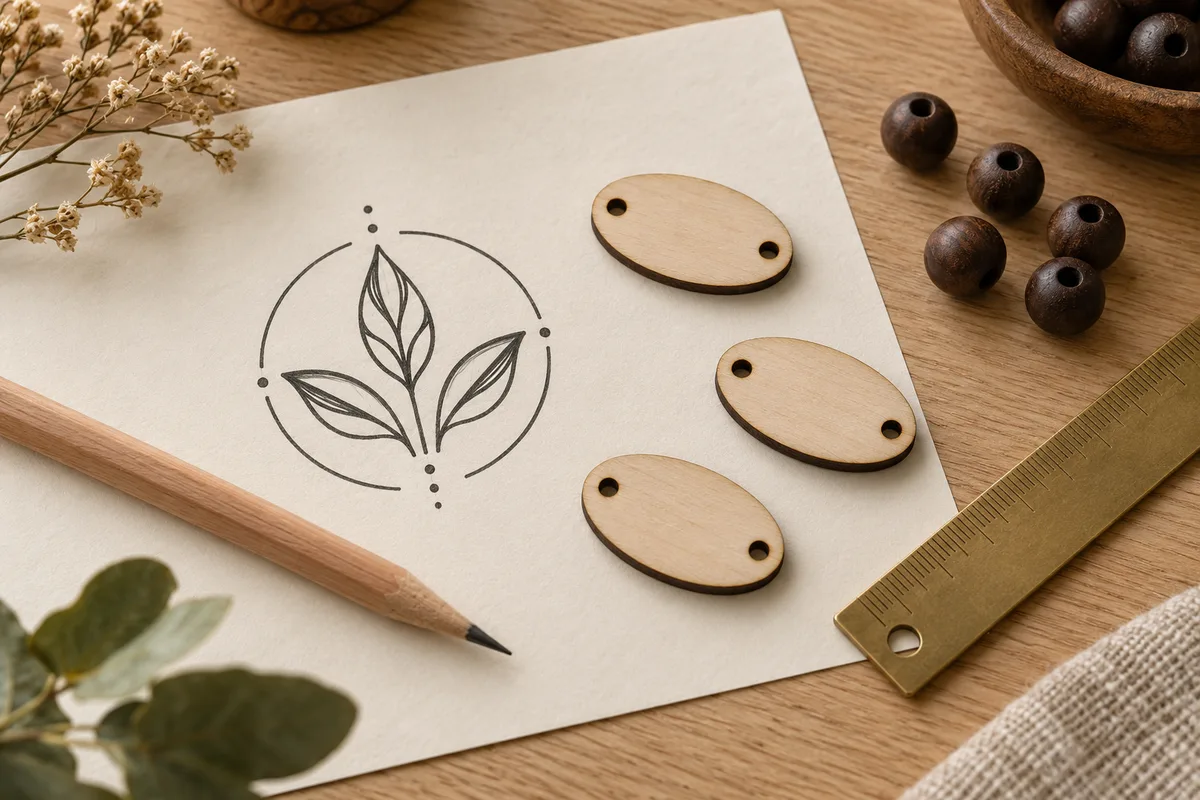
For a logo engraved on a small wood tag, start with clean artwork, reduce details that disappear at actual size and approve both tag faces separately. A sharp vector file is useful, but the most important check is whether a person can recognize the finished mark at the size they will wear.
WearableEvents engraves the separate wood tag on its branded beaded bracelets. The NFC chip sits inside a charm bead. Keeping those parts distinct helps you concentrate the artwork on the tag’s available face without designing around an imaginary chip in the logo area.
Which artwork format should you start with?
Start with the original logo file rather than a screenshot from a website. If the logo is made of shapes and lettering, export a clean SVG for the tag studio. The studio also accepts PNG, JPG and WebP; those can be useful previews, but a blurry source will not become sharp simply because it is saved in another format.
| File or artwork type | Useful for | Check before uploading |
|---|---|---|
| SVG with clean paths | Symbols and approved logo lettering | No missing fonts, linked images or unexpected shapes |
| Transparent PNG | A clear monochrome raster mark | Enough detail and no fuzzy background edge |
| JPG or WebP | An initial image-based design preview | Compression artifacts and unwanted background |
| AI, EPS or PDF master | Keeping editable source artwork | Export an accepted preview format; confirm source handoff with the team |
| Screenshot of a logo | Explaining the intended mark | Request the original before final approval |
Do not change a filename from .pdf to .svg and expect a conversion. The content must actually be exported in the correct format. Open the exported file independently before placing it in the designer.
How should you simplify a detailed logo?
Simplify the parts that stop being readable at the intended engraving size. That might mean removing a tiny slogan, opening a narrow gap or using an approved symbol without the full wordmark. Ask whoever controls the brand to approve the simplified version.
Imagine a club crest containing a shield, the club name and a ring of very small lettering. For a small tag, a useful first proof could retain the shield on the front and move the club name to the reverse. This example demonstrates a layout decision, not a guarantee that every crest can be engraved successfully.
Use solid marks with clear negative space. A gradient, metallic shine or drop shadow in a digital logo does not describe an equivalent engraving treatment. If the logo depends on those effects, obtain a flat version before judging its fit on wood.
Why should logo text be checked after export?
Lettering can change when a design opens on a system without the intended font. Converting approved logo text into vector outlines can preserve the shapes. Adobe explains this purpose in its guide to vectorizing fonts.
Keep the editable master separately because outlined letters are no longer ordinary text. Check the exported version for missing accents, altered spacing and filled-in counters, particularly in small letters. For individual recipient names entered in the designer, proofread the resulting layout rather than assuming the logo export check covers them too.
What should you inspect on the actual tag shape?
Inspect the artwork on the selected outline, with the threading holes and outer edge visible in the proof. A round logo may fit a round tag differently from a long wordmark on an oval. Stay within the designer’s outer-edge safety area and confirm the final placement rather than adding an invented exclusion zone around every hole.
Laser-cut wood edges are darker than the face. That edge is part of the material appearance, not a printed border to match the logo. The grain can also vary across tags. Use the preview to approve geometry and composition, while recognizing that a render is not a physical material sample.
Print the design at the stated physical size. Check whether the main symbol is recognizable without zooming, whether text reads naturally and whether the reverse still has room for its message. Review the two faces together so orientation is intentional.
What is the final engraving approval checklist?
Approve one identifiable revision that contains the selected tag, both faces and the exact text. Do not combine a front from an old email with a reverse from a newer preview and call the order final.
- Confirm the logo version and the right to use it.
- Read every name, date and short message against the supplied list.
- Check the actual-size front and reverse layouts.
- Confirm tag shape, wood choice and bracelet design.
- Approve the size and quantity plan separately from the artwork.
- Confirm the destination URL if your order uses NFC.
Use the 3D designer for the visual brief and send our team any artwork questions before approval. The bulk sizing guide covers the fit decisions a visual proof cannot settle.
Frequently asked questions
What file should I upload for bracelet engraving?
The WearableEvents tag studio accepts SVG, PNG, JPG and WebP images. A clean SVG is usually the strongest starting point for a logo made from shapes and lettering. Keep your original editable file and ask our team about any artwork that needs production review.
Can I upload an AI, EPS or PDF file directly to the tag studio?
Those formats are not listed as tag-studio image uploads. Export a suitable SVG or image for the preview. Keep the source artwork and contact our team if production needs the original vector file; do not just rename its file extension.
Does laser engraving reproduce the colors in my logo?
An engraved wood mark is not full-color printing. The visible contrast comes from the engraved surface and the chosen wood. Supply a clear monochrome version of the logo and use bead choices to complement the broader brand palette.
Should text in an SVG be converted to outlines?
Outlining approved logo lettering can preserve its shapes when a file is opened without the original font. Keep a separate editable master so wording can still be corrected. Inspect the exported SVG to confirm that letter shapes and spacing remain correct.
What is the minimum line thickness for engraving?
There is no universal value that fits every logo, wood and tag size. Fine lines, tight gaps and small text should be reviewed at the final physical size for your chosen design. Ask our team to assess the actual artwork rather than relying on a generic screen-only rule.
Does approving the digital proof confirm physical fit?
No. The digital proof is for artwork and design approval. Bracelet fit depends on construction and dimensions and needs its own review. A digital proof is also not a promise of a free physical sample before payment.
